Horizontal Timeline module for HubSpot
Showcase a horizontal timeline on your web page
Tell a story with a visually engaging timeline of your organization's history, process steps, or project milestones. With leadstreet's Horizontal Timeline custom module for HubSpot, you can show and control content elements on a horizontal timeline on your web pages.
Features
This Horizontal Timeline module is based on a repeatable element, is fully customizable, easy to use, and responsive. With it, you can:
- display content on top or on the bottom of the timeline;
- add an icon, image, video or text;
- customize colors, background, spacing and borders according to your preferences.
How to add the module?
If you are using leadstreet's Essential theme or any other theme, you can simply drag & drop the Horizontal Timeline custom module for HubSpot to your web page.
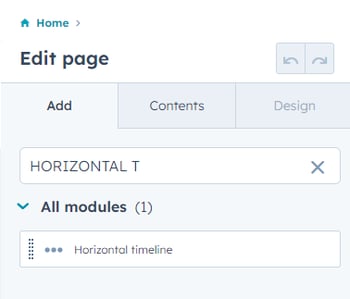
How to setup the module
You can fully customize the Horizontal Timeline based on your needs and preferences.
Step 1
Purchase the Horizontal Timeline custom module for HubSpot.
Step 2
Log into your HubSpot portal. And go to Marketing > Files and Templates > Design Tools.
Step 3
Choose Contents to find the CSS horizontal timeline module for setup.

Step 4
Choose your timeline settings including how many items to show in the timeline, do you show short info, do you add an icon inside the circle?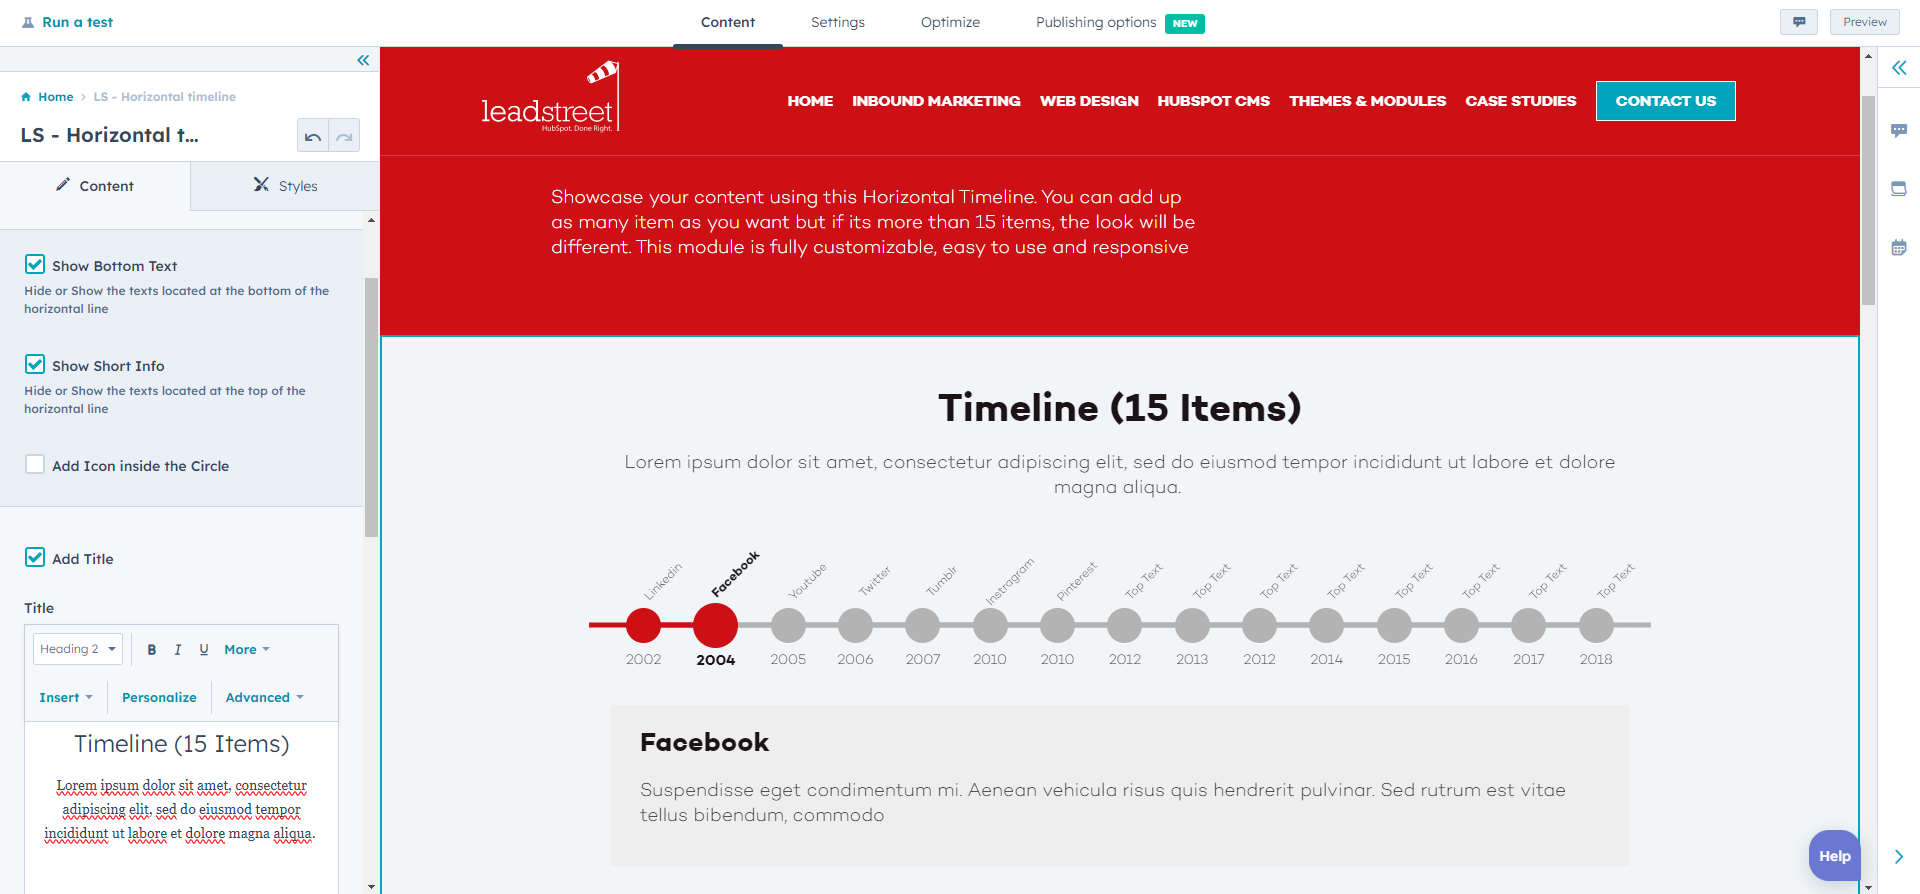
Step 5
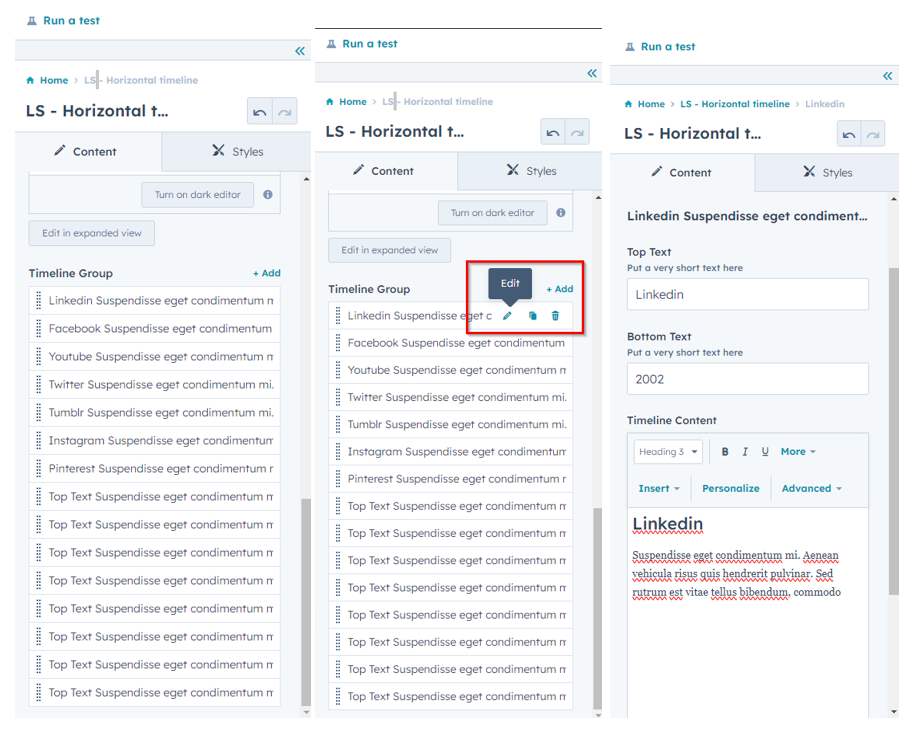
The Horizontal Timeline custom module for HubSpot needs a title, it is best to think of a title and plan out your content in advance. You can edit the titles and content when you click Edit next to each entry listed for your timeline.
Step 6
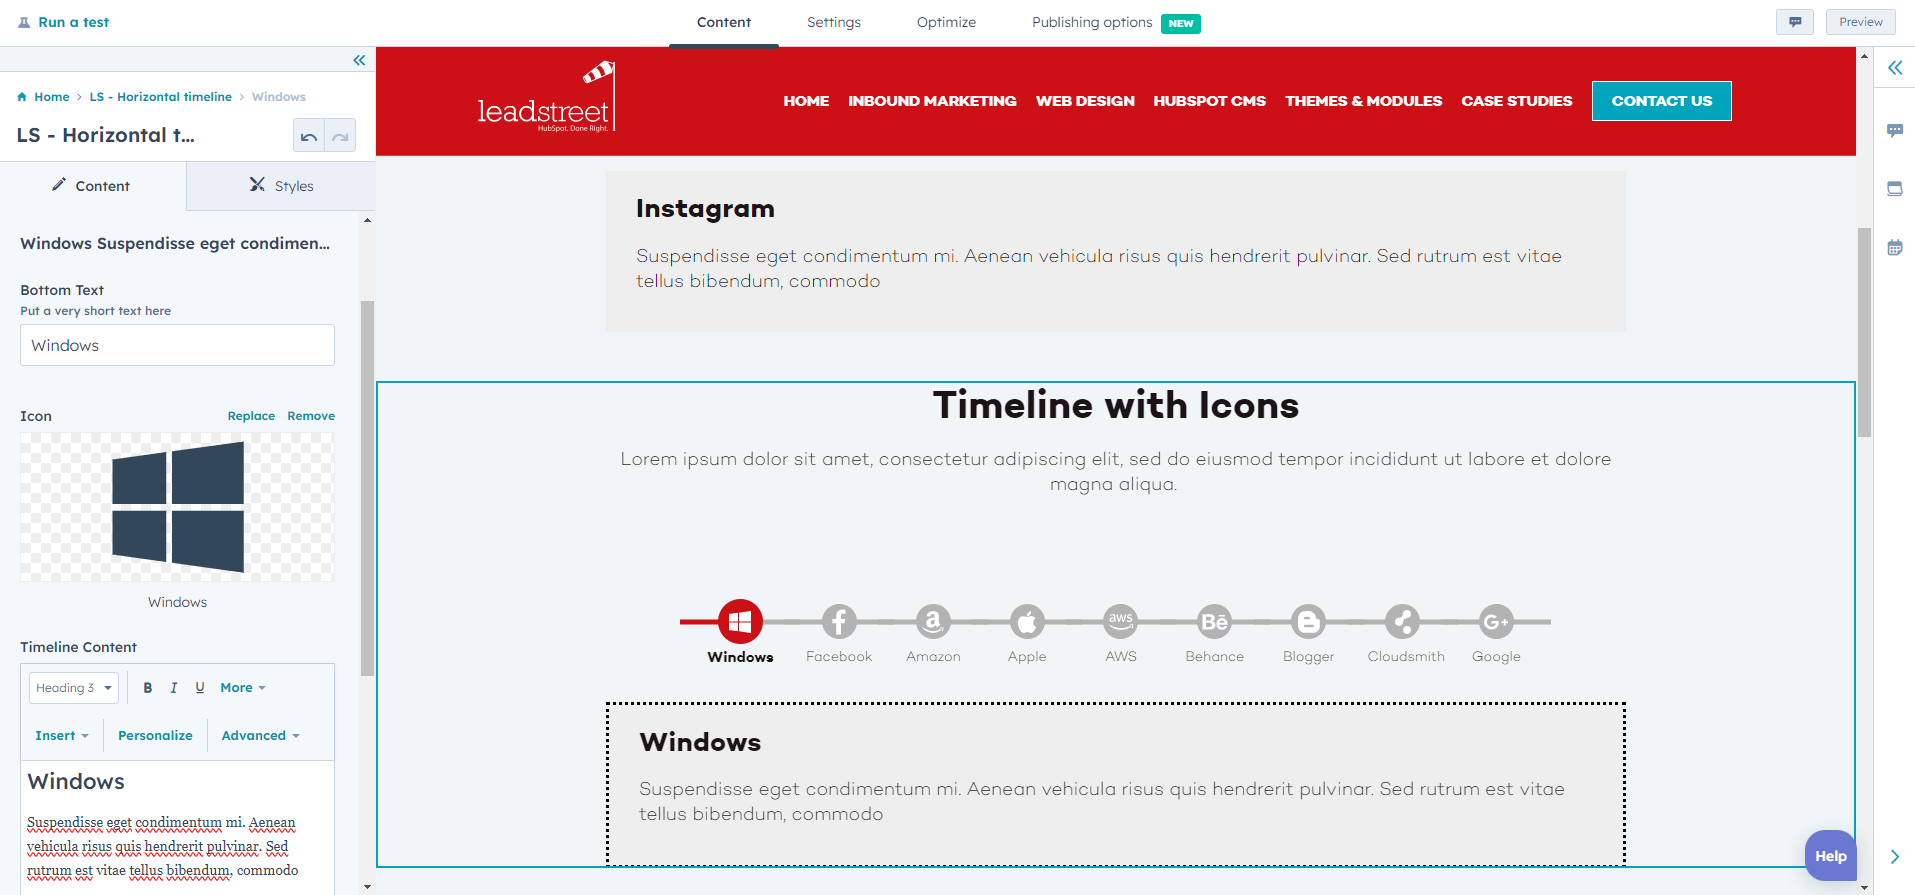
Explore different use cases for icons based on what you want to illustrate in your Horizontal Timeline. The custom module for HubSpot has ready-made icons available.
Step 7
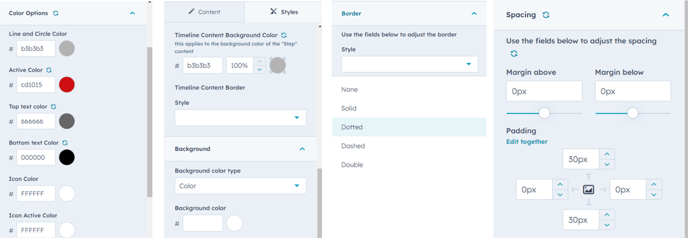
Customize style settings in the Horizontal Timeline maker. Change the colors of lines, text and background based on your branding guidelines. Change the margins, border, padding and spacing to suit your website's layout.
Step 8
Save your changes and preview the page as you make adjustments until you get final sign approval. From there, your Horizontal Timeline should be ready to publish.
Please contact our support team via this form
